HULFT Square Technical Column [Connecting Edition]
I connected to freee
HULFT Square Technical Column [Connecting Edition] List
I connected to freee
Introduction
In recent years, it has become commonplace for companies to store and use their resource information on web services. The accompanying market expansion has led to a proliferation of various web services both in Japan and overseas. These web services are collectively known as Enterprise Resource Planning (ERP) services.
What is freee?
freee is an ERP service provided by freee, Inc.
By creating a user account, you can easily use the ERP functions. It also works with various financial institutions, and has convenient features such as automatically recording credit card transaction information.
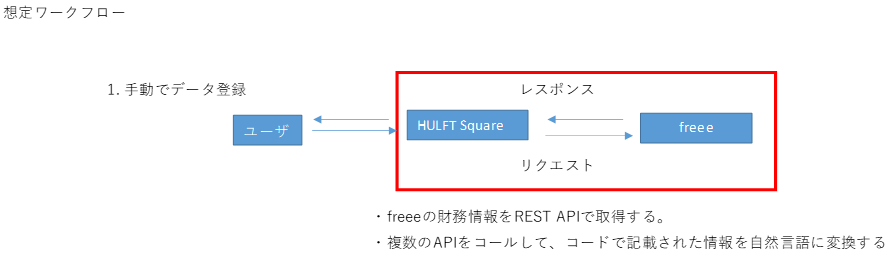
In addition, freee implements various processes via API, allowing it to connect with user systems using REST.
Verification details
This time, we will use HULFT Square to confirm that the following processes can be performed.
- Obtaining freee user information
Advance preparation
freee settings
To use freee's API, you need to create a contact point application.
- If you do not have a freee user account, you will need to register for one via the URL below.
- The above method is for the trial version. Product version Product version separate activation procedures, but these are not covered in this article.
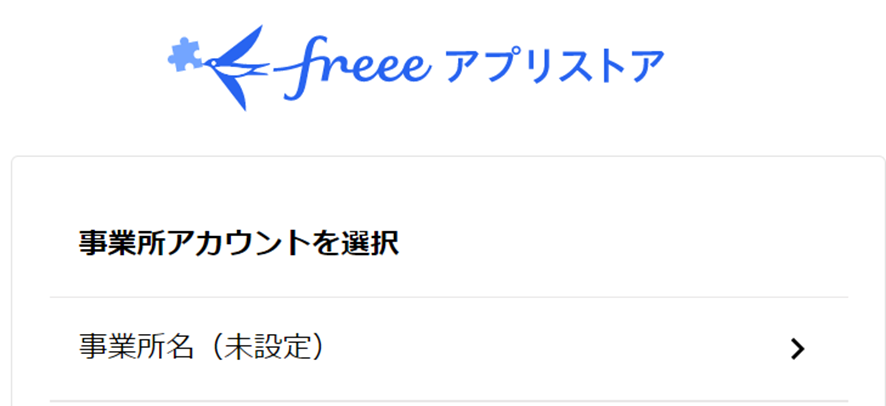
Once you have created an account, select Login in the top right corner of the URL below to log in and select your business location (instance).
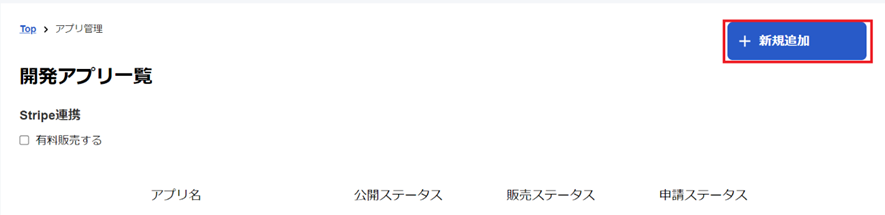
After logging in, select [App Management] from the menu in the upper right corner.

Select Add New to create an application.
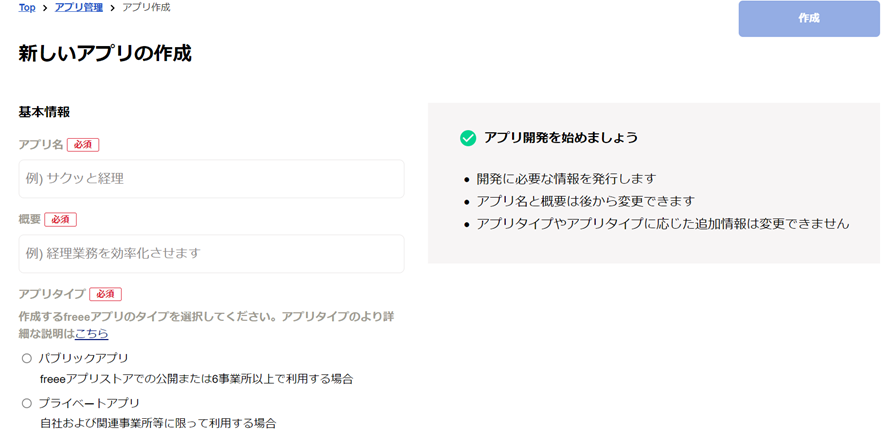
Set the details. This is optional, but it's best to set the app type to private. Finally, agree to the policy terms below the image and select Create in the upper right corner.
After selecting the Create button, you will be able to view the application's detailed information. Grab the image below from the Basic Information tab and save it to a notepad or similar.
The value set for the callback URL is the URL automatically created when creating the Auth connection described below.

Next, find "User-related information" in the Permissions Settings tab and set "Reference" to true (check).

This completes the setup on the freee side.
HULFT Square settings
Once the setup on the freee side is complete, we will next configure HULFT Square, which will connect to freee.
First, create a project and a script within it, then select [Network] > [REST] > [Get Execution] from the right menu and drop it into the script. Enter the settings in the settings screen that appears.
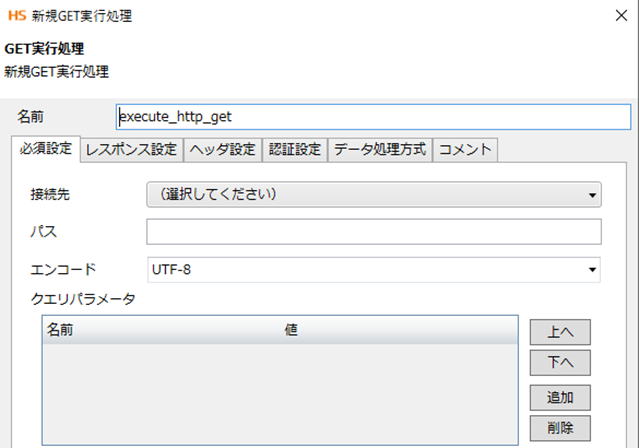
First, configure the settings in the Required Settings tab.
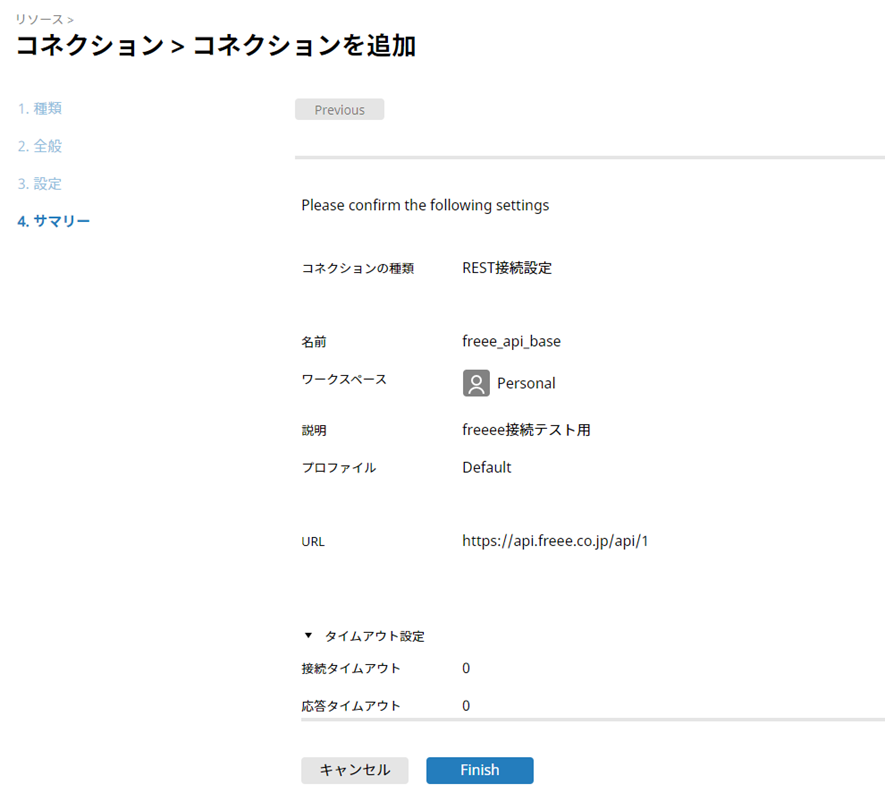
Select the Connection Destination text box and select Add. This setting will set the REST connection URL. The "path" set later will be appended to the end of this setting, becoming the final endpoint.
This time
- Name: [freee_api_base]
- URL:[https://api.freee.co.jp/api/1]
Set it and select Finish.
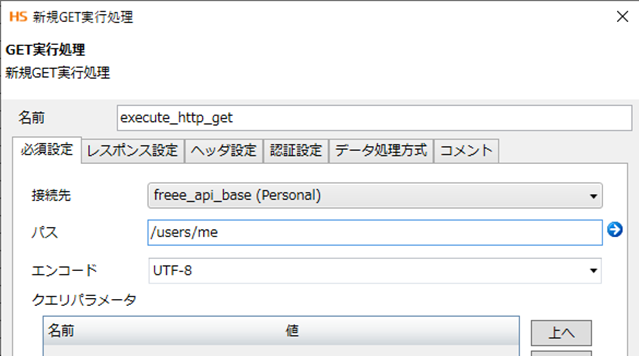
Next, set the path.
The final endpoint of the API we will use this time is [https://api.freee.co.jp/api/v1/users/me], so the remaining endpoints that are not set in the connection settings are
- [/users/me]
Let's set it up.
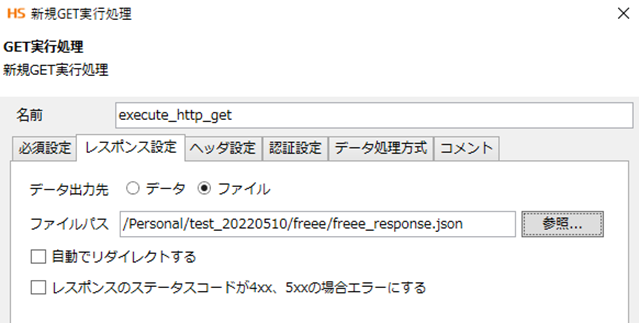
Next, go to the Response Settings tab, where you can configure how the response will be handled.
This time, we will only be viewing the response content, so set the data output destination to [File] and enter any directory in HULFT Square as the file path.
Finally, set the authentication in the Authentication Settings tab to [Auth Connection], and select [Add] from the connections displayed under Add.
Enter the information obtained when creating the application on the freee side into the connection settings as follows:
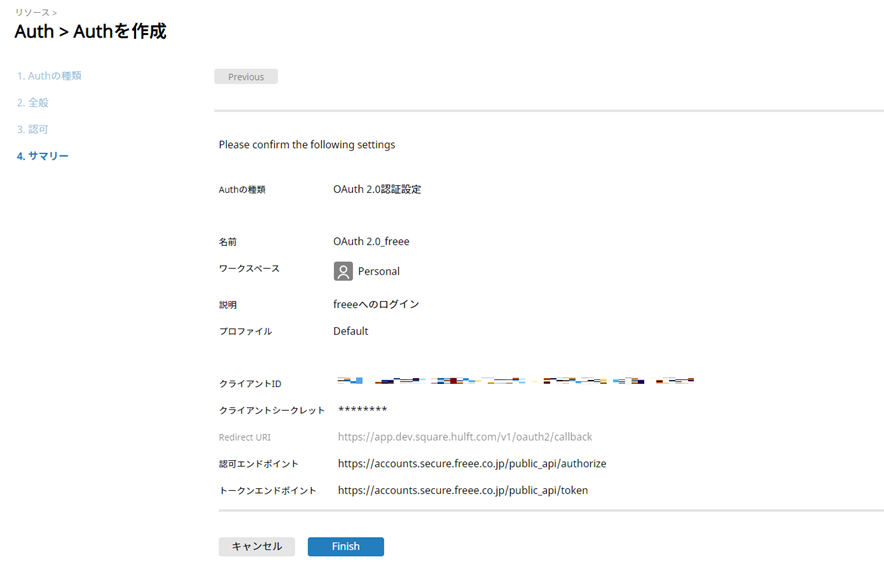
Connection information (values obtained when creating the application are enclosed in {})
- Name: Any
- Client_id : {client_id}
- Client_secret : {client_secret}
- Redirect URI: Automatically set URL
- Authorization endpoint: https://accounts.secure.freee.co.jp/public_api/authorize
- Token endpoint: https://accounts.secure.freee.co.jp/public_api/token
- Client authentication method: client_secret_basic
Once you have finished entering the information, select [Issue Refresh Token]. Enter your freee user information in the browser that appears and perform application authentication. If successful, a value will be automatically entered in the refresh token section.
Once successful, select finish.
Creating and Running Scripts
Drag and drop the start icon onto the get execution icon created above to create a process flow.
In the same way, drag and drop the get execution icon onto the end icon.
Once completed, perform a test run.

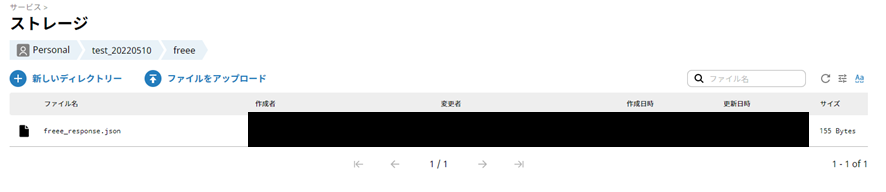
Once the script is complete, open Explorer in HULFT Square and check the directory you set. If freee_response.json has been created and contains the information of the user you just created, the process was successful. (It is in UTF-8, so if the characters are garbled, right-click freee_response.json and download it locally, then view it using Windows Notepad or similar.)
Conclusion
What did you think?
By using HULFT Square, we were able to obtain freee user information.
Although what we conducted this time was a simple connection check, various freee information can be controlled using APIs, such as user integration with other services, personnel management, and expense reimbursement processing. We hope you will take this opportunity to try out integration with freee using HULFT Square.